新建一个maven工程 注意选择JDK的版本 如果版本过高可能会不支持 最好选择8 9 11
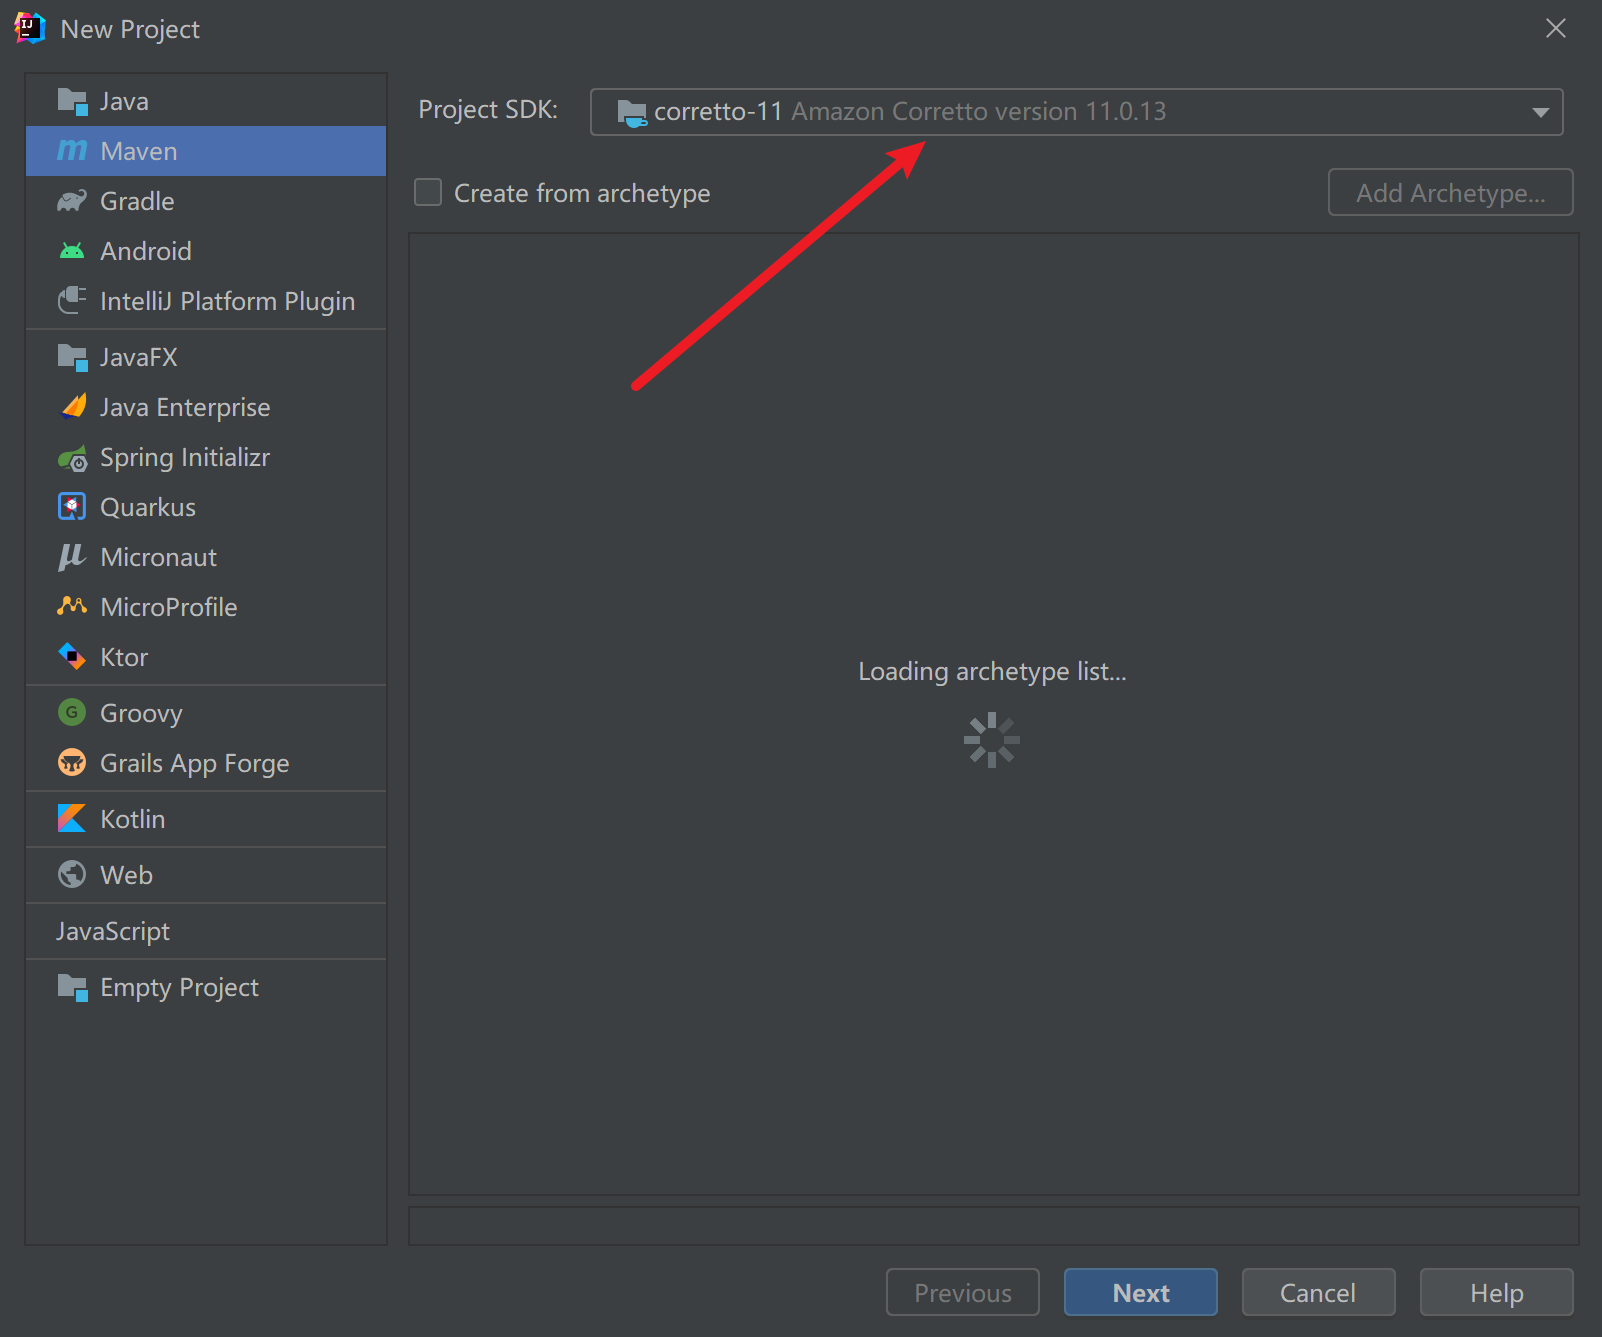
像我第一次踩坑就是因为JDK是17 可能还不支持 把17改为8 就好了 所以大家选择的时候还是尽量选择一起的稳定版本

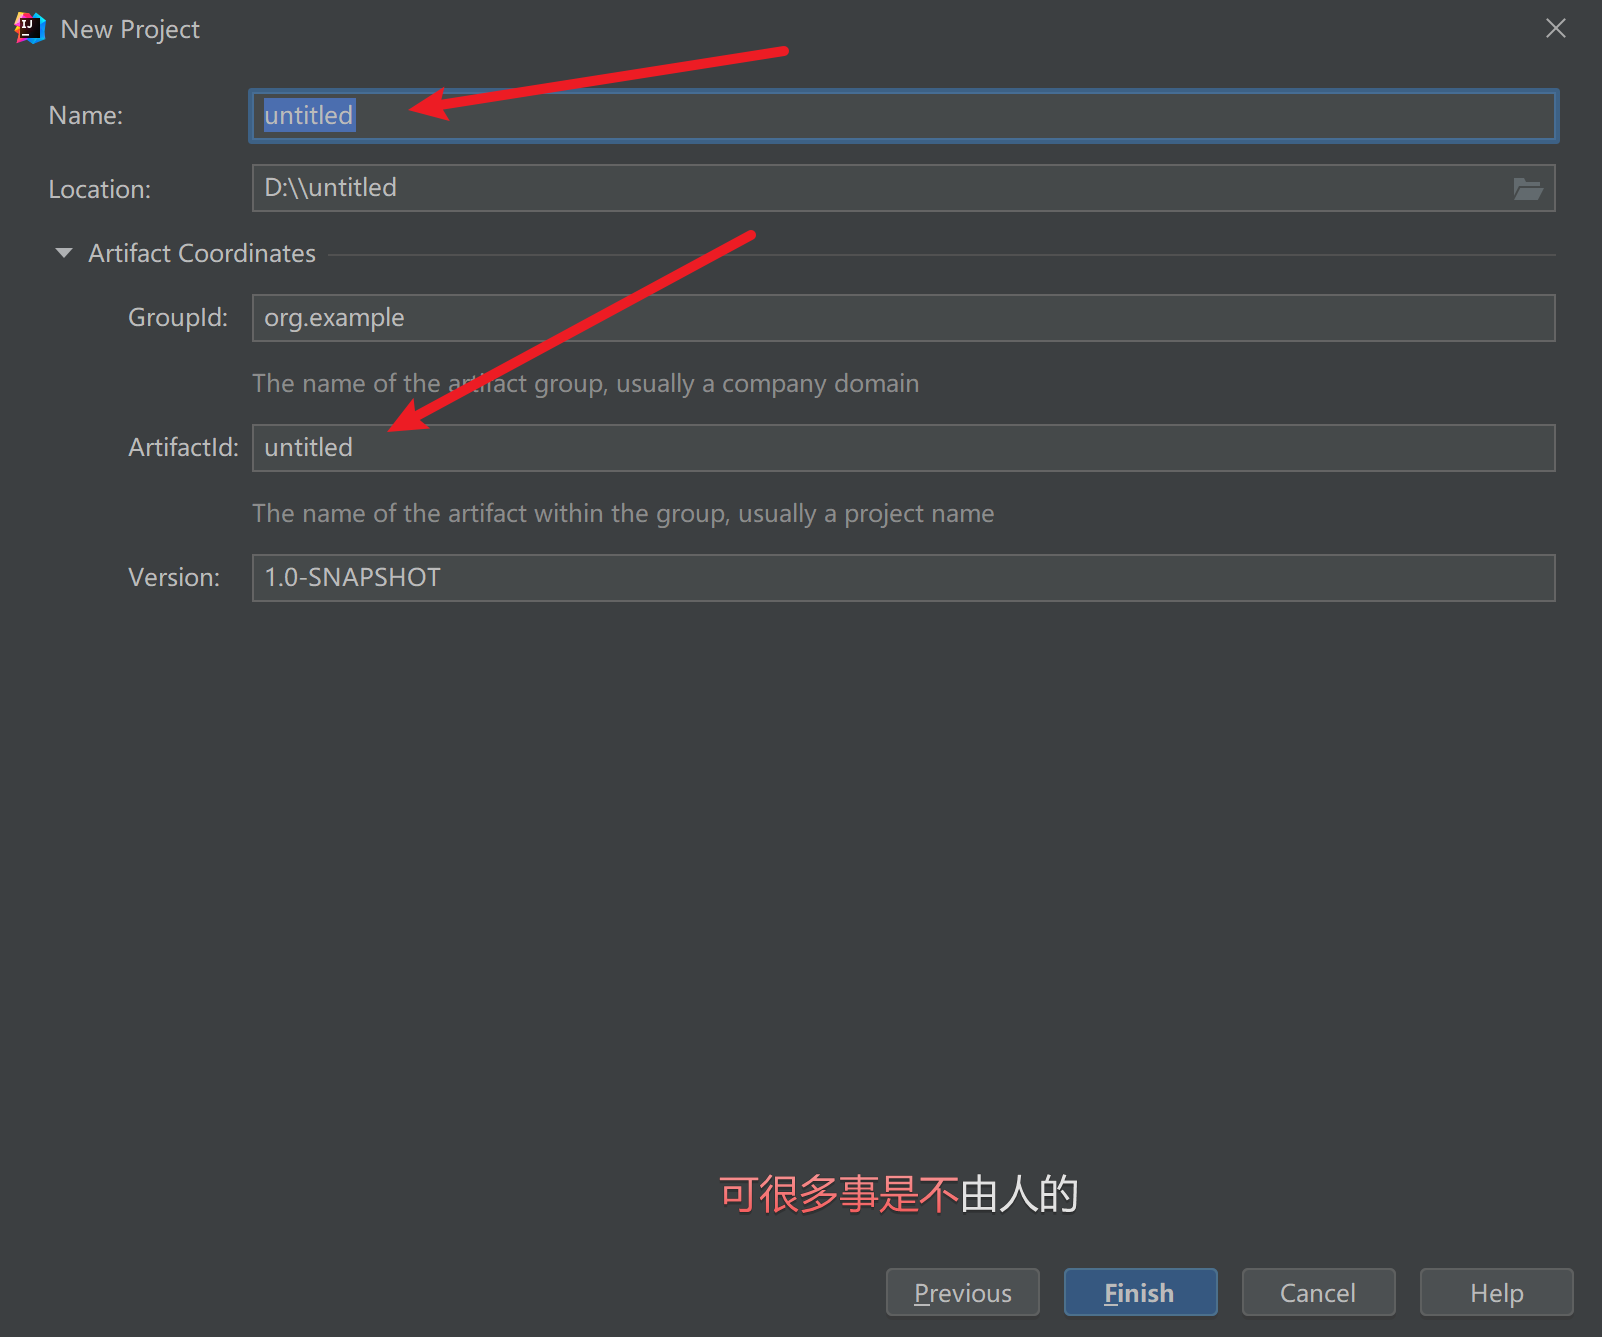
修改名称
新建一个包boot
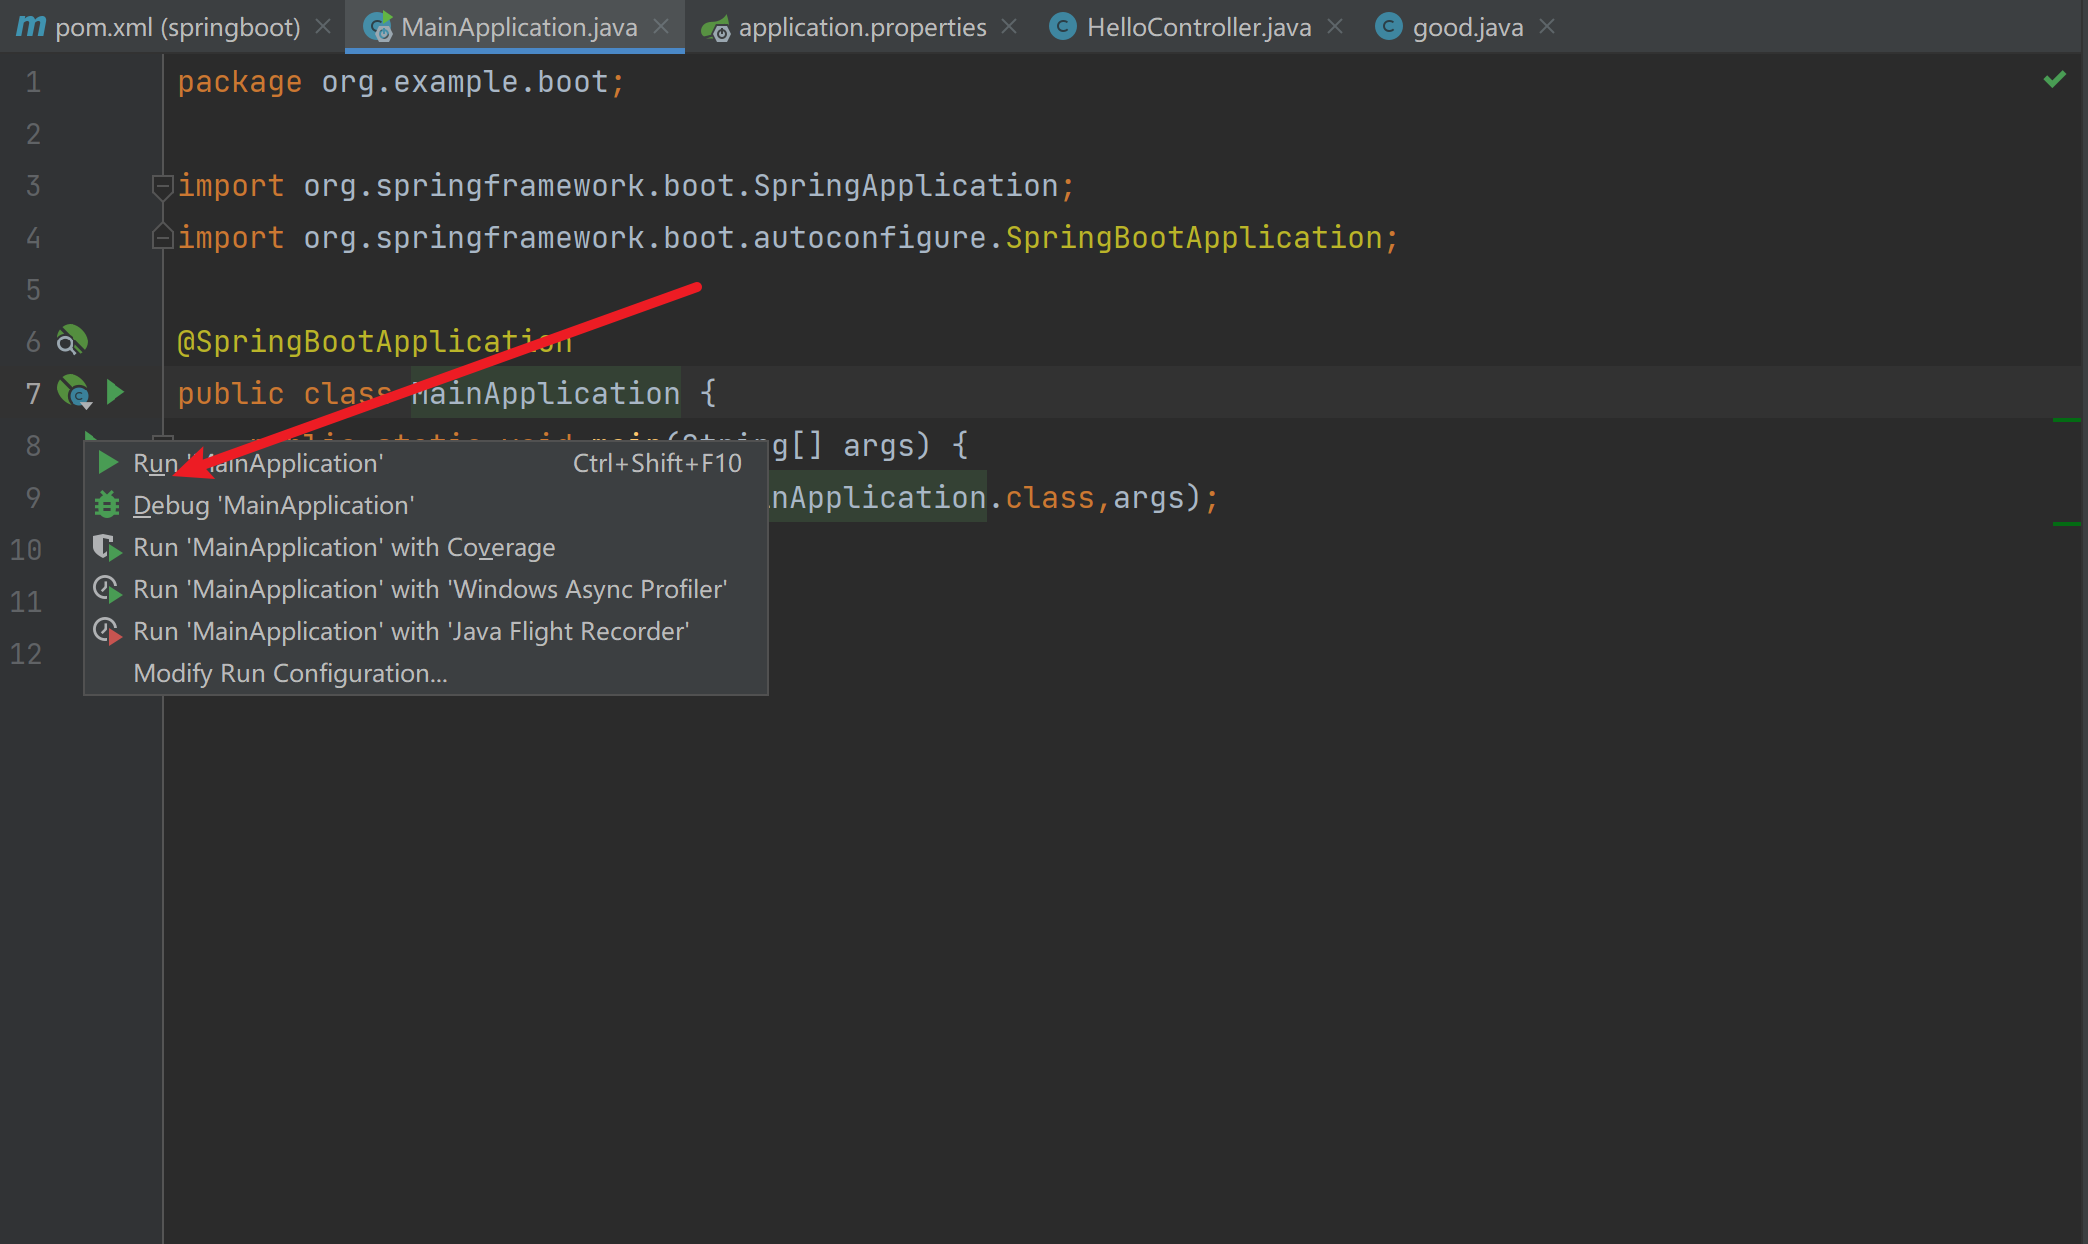
在boot包下创建一个类 MainApplication
1
2
3
4
5
6
7
8
9
10
11
12
| package org.example.boot;
import org.springframework.boot.SpringApplication;
import org.springframework.boot.autoconfigure.SpringBootApplication;
@SpringBootApplication
public class MainApplication {
public static void main(String[] args) {
SpringApplication.run(MainApplication.class,args);
}
}
|
点击pom.xml 进行导包
1
2
3
4
5
6
7
8
9
10
11
12
13
| <parent>
<groupId>org.springframework.boot</groupId>
<artifactId>spring-boot-starter-parent</artifactId>
<version>2.3.4.RELEASE</version>
</parent>
<dependencies>
<dependency>
<groupId>org.springframework.boot</groupId>
<artifactId>spring-boot-starter-web</artifactId>
</dependency>
</dependencies>
|
建立controller层
创建了类HelloController
1
2
3
4
5
6
7
8
9
10
11
12
13
14
| package org.example.boot.Controller;
import org.springframework.stereotype.Controller;
import org.springframework.web.bind.annotation.RequestMapping;
import org.springframework.web.bind.annotation.RestController;
@RestController
public class HelloController {
@RequestMapping("/hello")
public String hello01(){
return "第一个springboot hello ";
System.out.println("Springboot程序启动成功");
}
}
|
点击启动MainApplication
如果显示端口被占用

则我们在resource包建一个文件application.properties
server.port=8111
定义这个没有被使用的端口

输出了我们写的内容 表示启动成功
我们用127.0.0.1+端口 /hello 来访问 例如我的就是127.0.0.1:8111/hello
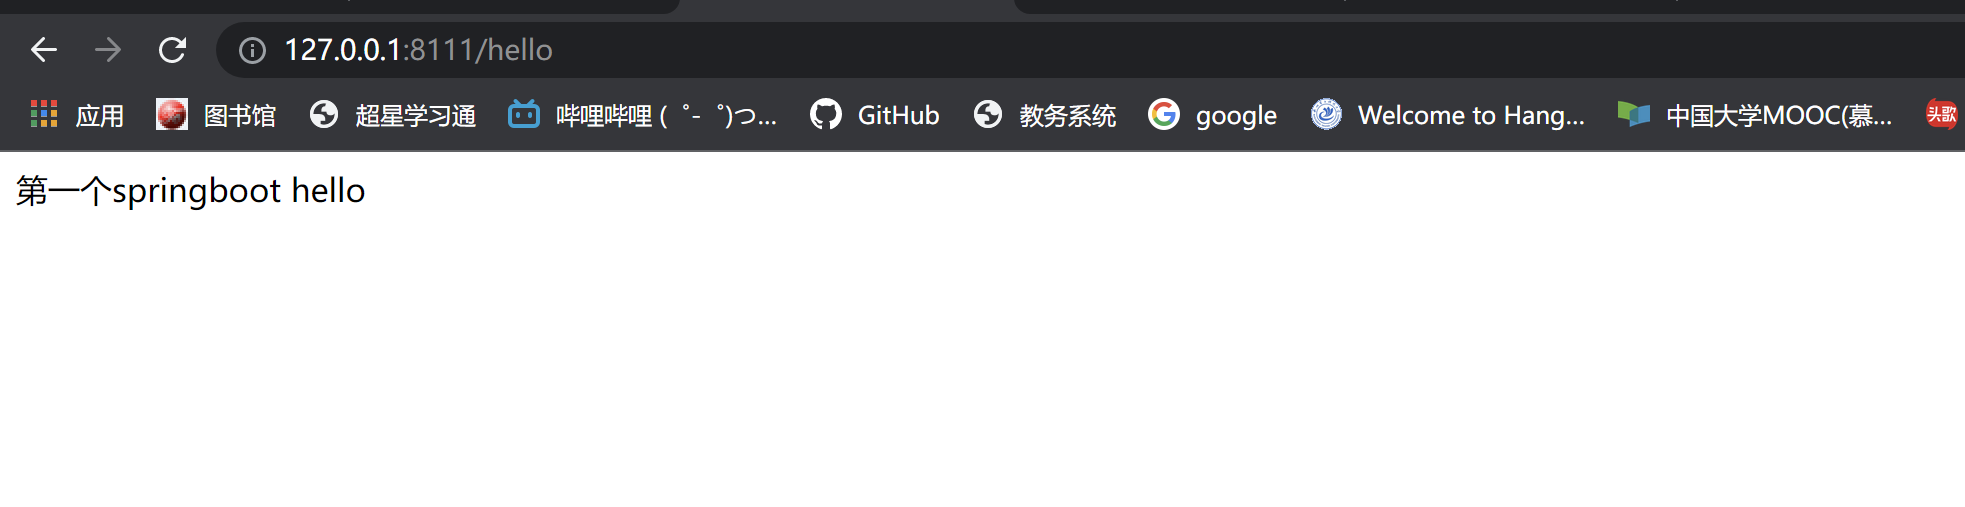
就可以显示成功啦